Official entry
ReadyMade
Magazine MacGyver Challenge
Issue 11, May/June 2004
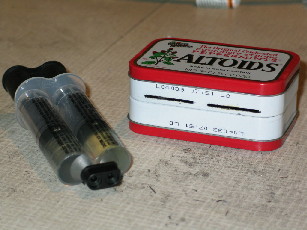
Replace those altoid tins cluttering
your desk with a Personal Postage
Assistant (PPA), a useful tool for organizing and sending snail mail.
Never again wonder where your stamps are hiding. Say goodbye
to under- and over-stamping your letters. The PPA will help you organize
your analog correspondence and lighten your load to the landfill.
Here's how to make your very own.

Materials:
Tools
Using the Dremmel, cut an H shape
in the bottom of tin1.
Make sure the long cuts of the H extend all the way to the edges of the tin,
but also leave at least 1/8" rim on each side.
Cut out a rectangle from the bottom
of tin2 that matches the dimensions
of the H shape on tin1.
Also using the rotary tool, cut 2
slits in the bottom front
of tin1. Each slit should sit just above the floor of the tin and
measure at least 1 1/4".
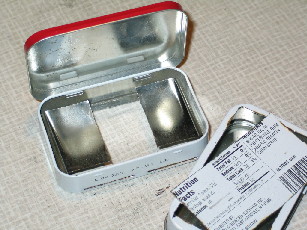
Bend each of the flaps straight up
with a 90 degree bend so as
to make two upside-down L shapes. These "legs" will form the support
for a shelf to sit on. The surface of these supports should be a quarter inch
below the lip of the tin.
Also remove the rectangle you cut from tin2.
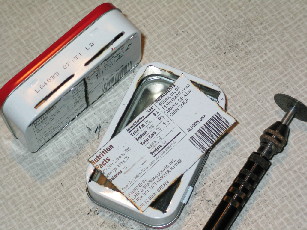
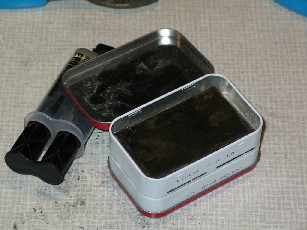
Join the tins (bottom to bottom -
fronts facing the same way) with an
epoxy or other appropriate adhesive.
Using the epoxy, glue the rectangle
you cut from the bottom of tin2
on the legs you formed by bending the bottom of tin1. Let this dry
according to adhesive's instructions.
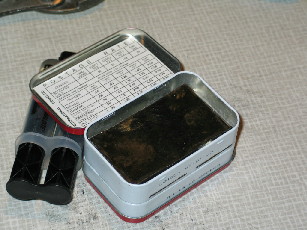
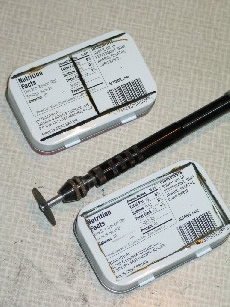
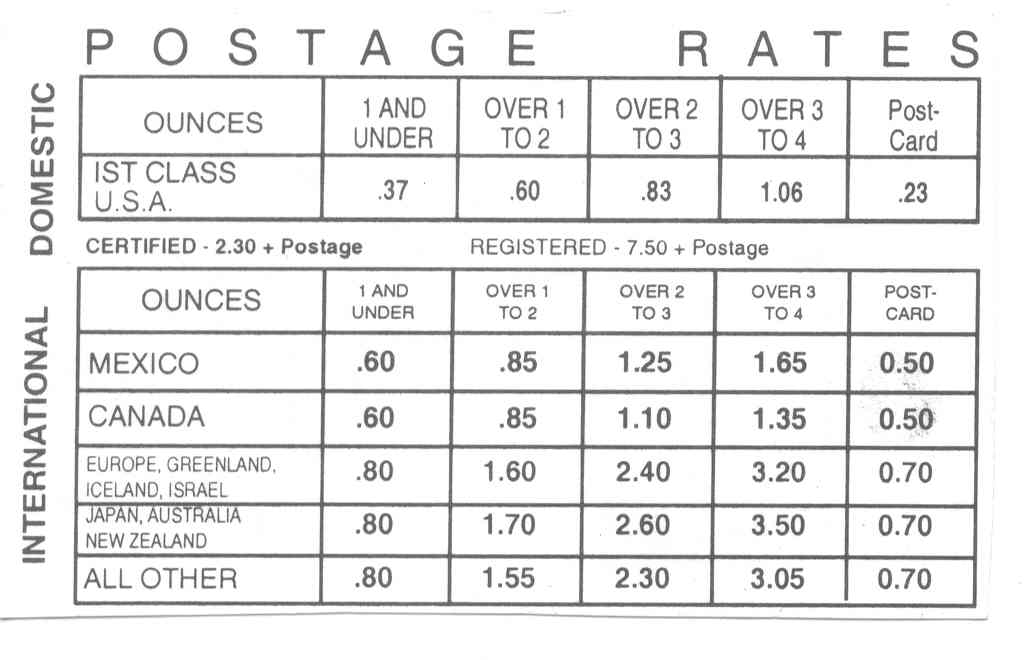
Glue the postage rate card in the lid of tin1.

Drill two1/4" holes -- one in
the middle of each side,
just below where the two tins meet.
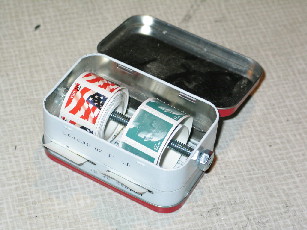
Thread the bolt through the holes
and your rolls of stamps, and
fasten the nut. Feed the first stamps through the slits.
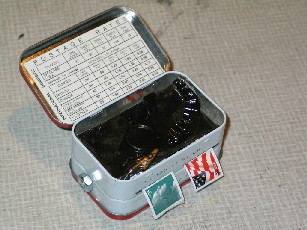
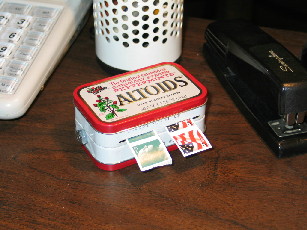
Finally, place the postage
scale on its platform. It is a tight fit,
and only fits one way. In case you can't tell from the picture, the postage
scale is an ingenious device -- clip one end to the letter, hold the ring aloft,
and presto -- the needle indicates total weight. (see picture below)
Voila!
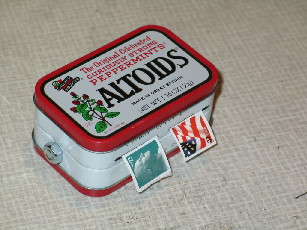
All done.
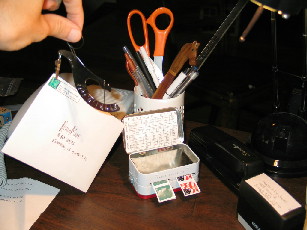
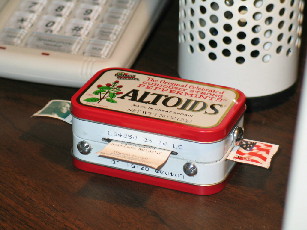
The PPA in its natural habitat.
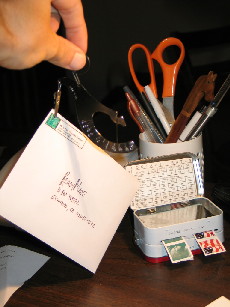
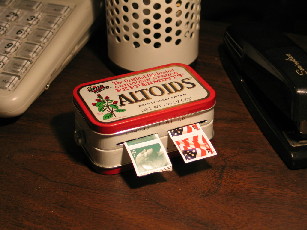
The PPA in use. (weigh parcel, check rate card, stamp accordingly)
EXTRA TIPS
The metal edges that are left after
cutting into the tins can be quite sharp -- for best
functionality, either file these edges smooth or put a little tape on them (especially
right under the stamp slits) so as to reduce friction for stamps being pulled
out.
VARIATIONS
I also tried making the PPA with
the stamps coming out the sides and a large slit
in the front for address labels. It felt like trying to cramp too much in a
small space,
but perhaps it can be done with some re-working. I used two #10-24 x 2 1/2"
bolts
for the stamp crossbars, and the same 1/4" x 4" bolt for the address
labels. The variations
are many -- the stamps could come out of any surface.
See how I answered the Strawberry
Basket challenge.
Email thoughts, comments, and suggestions to mac_challenge@garrettfam.com